July 9, 2021- Business, Design, Web,
4 Important Steps for Image Optimization

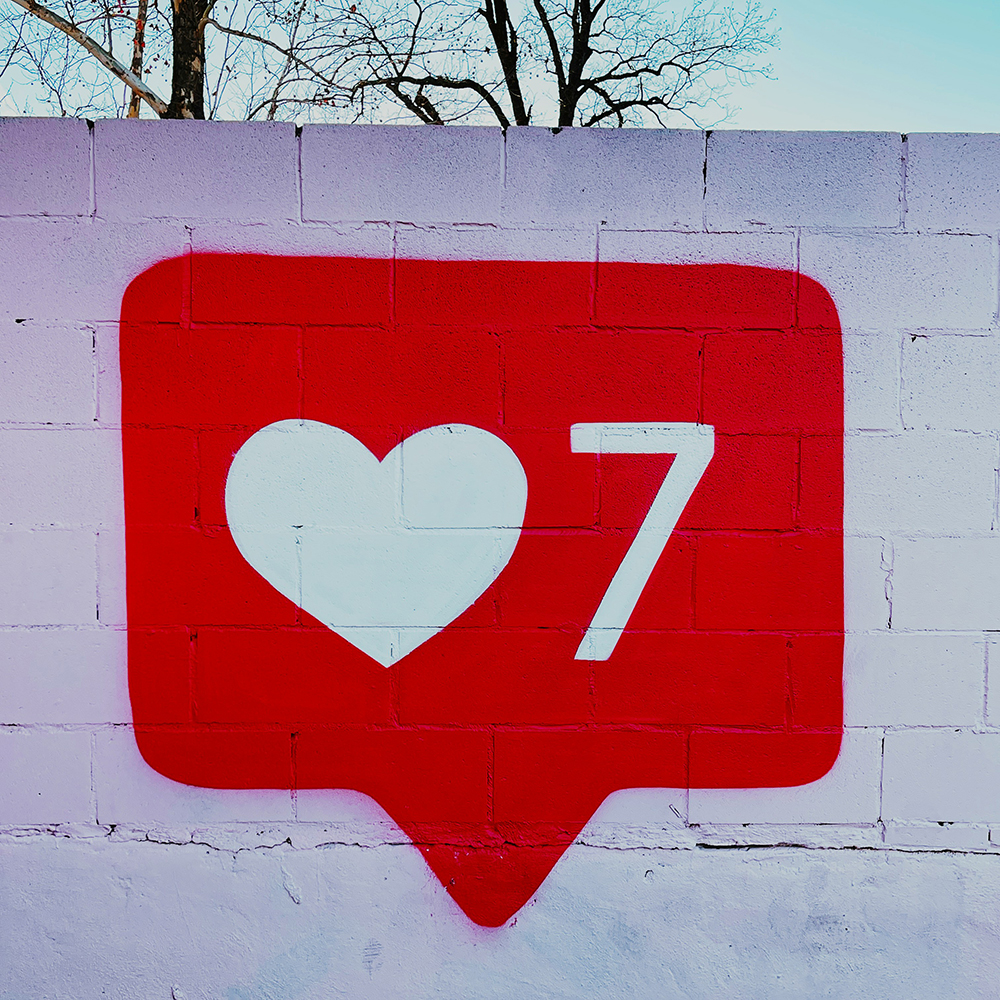
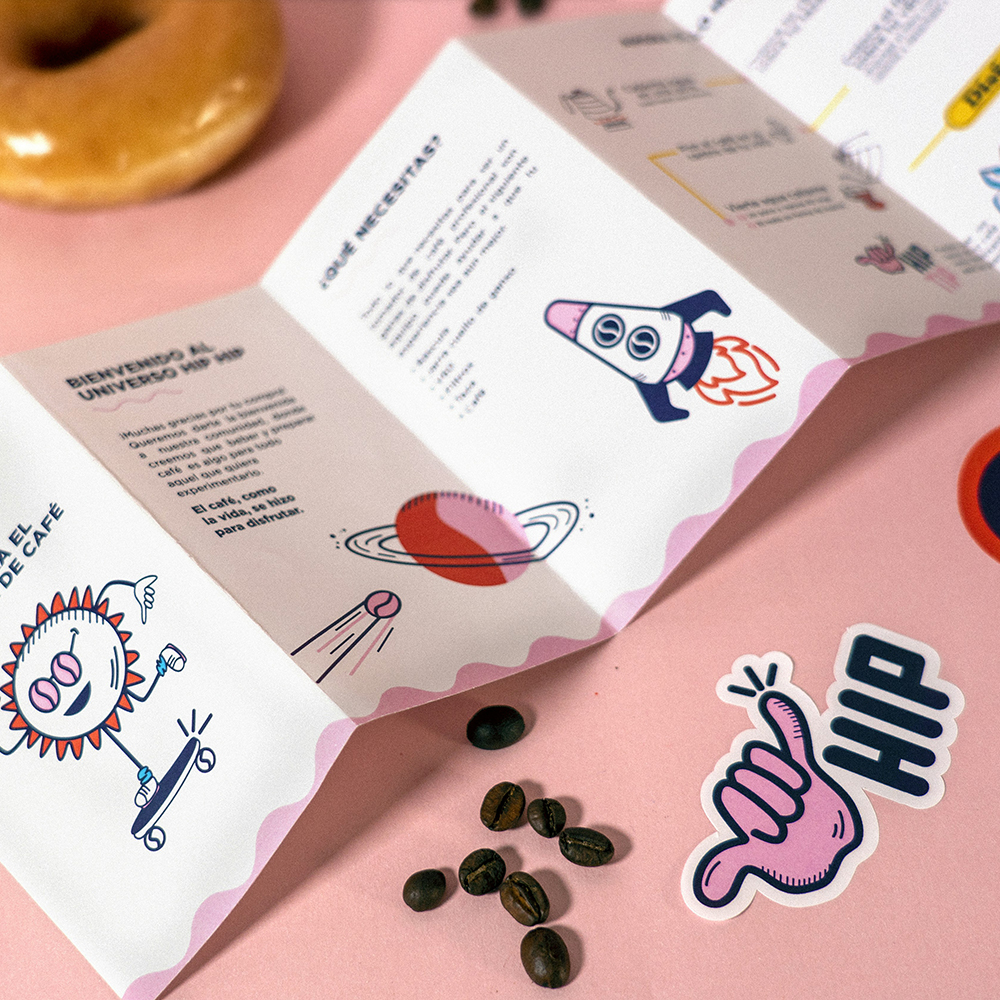
Visual imagery is a powerful tool that can transform your content into an engaging brand experience.
Images are a crucial component in shaping your business’ visual presence. Since images are such an important part of any business, giving them the proper attention and quality should be a priority. Yet, when building and maintaining an online presence, image optimization is often overlooked. This can have a huge impact on how existing and future clients engage with your brand.
What is Image Optimization?
Image optimization is all about reducing your file size as much as possible without losing quality in your images. This helps diminish the time it takes for your webpages to load. If your images are too large to load, your SEO (search engine optimization) score will go down, meaning less traffic visiting your site.
Using images on your webpages helps boost your website’s SEO by showing up in Google Image search. This means more traffic to your website, and ultimately more attention to your business.
1. Use The Right Image Dimensions
You should always use images that are scaled to the exact size of the final render. Using larger images then necessary will increase load time for your website and take up more data then necessary to render the image. This is especially important for ecommerce websites or when presenting a gallery of thumbnails such as a preview of a photoshoot.
Page load times are used as a ranking factor in Google search and let’s be honest – no one likes a slow website! The bottom line is, you want to reduce your file size as much as possible in order to maximize your SEO.
Aside from Photoshop there are also great web tools available to help you with image-editing and allow you to easily resize your images.
Pixlr and Canva both offer free photo editors.
2. Use the Right Image Format
When saving a photo for web, it is best to use JPEG/JPG as this will allow for the best compression.
PNG files are used mainly for images that require transparency, or for vector based images that may be scaled to different sizes. PNG format is often used for logos, text, and simple icons that often need to be scalable.
Although PNG images produce a higher image quality, this comes at the price of a larger file size. Their color palette is also limited compared to jpg, making jpg the popular choice for web photos.
3. Save Images for Web
Using the “Save for Web” command in Photoshop is a helpful tool when exporting your images. The standard “Save” option can often create much larger file sizes than “Save for Web” which gets rid of any unnecessary metadata and reduces the file size. This option will allow you to customize the quality, format, color, and size of your file.
With “Save for Web” you can choose whether you want to save the image as a JPG, PNG, or GIF. Selecting the option “Optimize To File Size” will allow you to set the file to a specific size.
One of the ways to compress the file when saving is to use the “Quality” menu to select between low, medium, high resolution. You can also choose to enter a value in the Quality box.
By selecting “Progressive”, the image will display first at a lower resolution on your webpage and then progressively increase in resolution. This can be beneficial in order for your images to display quickly for users, yet not all browsers will support this.
Whether the image is one with a lot of detail and importance, or a simple thumbnail image will dictate whether you need to save at a higher or lower quality. This requires you to use judgment to balance out the level of quality and file size.
4. Compress Images for Web
There is no magic formula that works for reducing file size on all images. This process involves tweaking and altering aspects of the file in order to achieve the best image quality at the lowest possible file size.
Even after you’ve compressed your images using Photoshop, image compression tools can help to reduce the file size even more.
Online tools such as ImageOptim , Tinypic, Compressor.io, and Bulk Web Resizer are helpful options.
When compressing your files, always make sure to save the original high-resolution copy of your image for your files. If you need to make future changes to the image, or later need to render it larger, you will have this file to work with.
There are many different ways to compress and save for image optimization and it takes some time to become a pro. However, taking the time to get the best quality and file size will have a huge impact on your SEO and the overall look of your brand. It’s worth it to take advantage of online tools, and design or branding professionals who can help you make the most out of your images.